Checking truck tire inflation pressure involves using a calibrated gauge, matching the manufacturer's specification, and verifying cold temperatures. Correct procedures prevent uneven wear, fuel waste, and blowouts. Consistent monitoring is a core part of fleet safety.
- Check cold tires to get accurate readings and avoid overinflation.
- Use a dial or digital gauge rated for heavy-duty pressures.
- Reference the driver door placard or owner manual for specific PSI values.
- Inspect tire sidewalls for bulges or damage during the pressure check.
- Record all readings in a log to track wear patterns and maintenance needs.
Why Cold Readings Matter
Truck tire inflation pressure changes with temperature. Hot air expands, and cold air contracts. This physics principle means the pressure you measure while driving is not the pressure the tire was designed to operate under.
Manufacturers specify cold tire pressure. This is the pressure measured before driving or after the vehicle has been parked for several hours. The tires and wheels must have cooled to ambient temperature. If you check tires that have been running on a hot day, the gauge will show a higher number.
Inflating to that higher number based on a hot reading leads to overinflation. Overinflated tires run with a stiff contact patch. The center wears faster, and the shoulders may not make proper contact. This pattern shortens tire life and reduces traction.
Always check tires when they are cold. This practice applies to passenger vehicles, but it is even more critical for heavy trucks. The load on a semi-trailer or bus tire is significant. The margin for error is small.
Equipment Required for Accurate Measurement
Standard consumer gauges are often not suitable for heavy-duty applications. Many are calibrated for up to 60 or 70 PSI. Truck tires often run between 100 and 150 PSI, depending on the load and application.
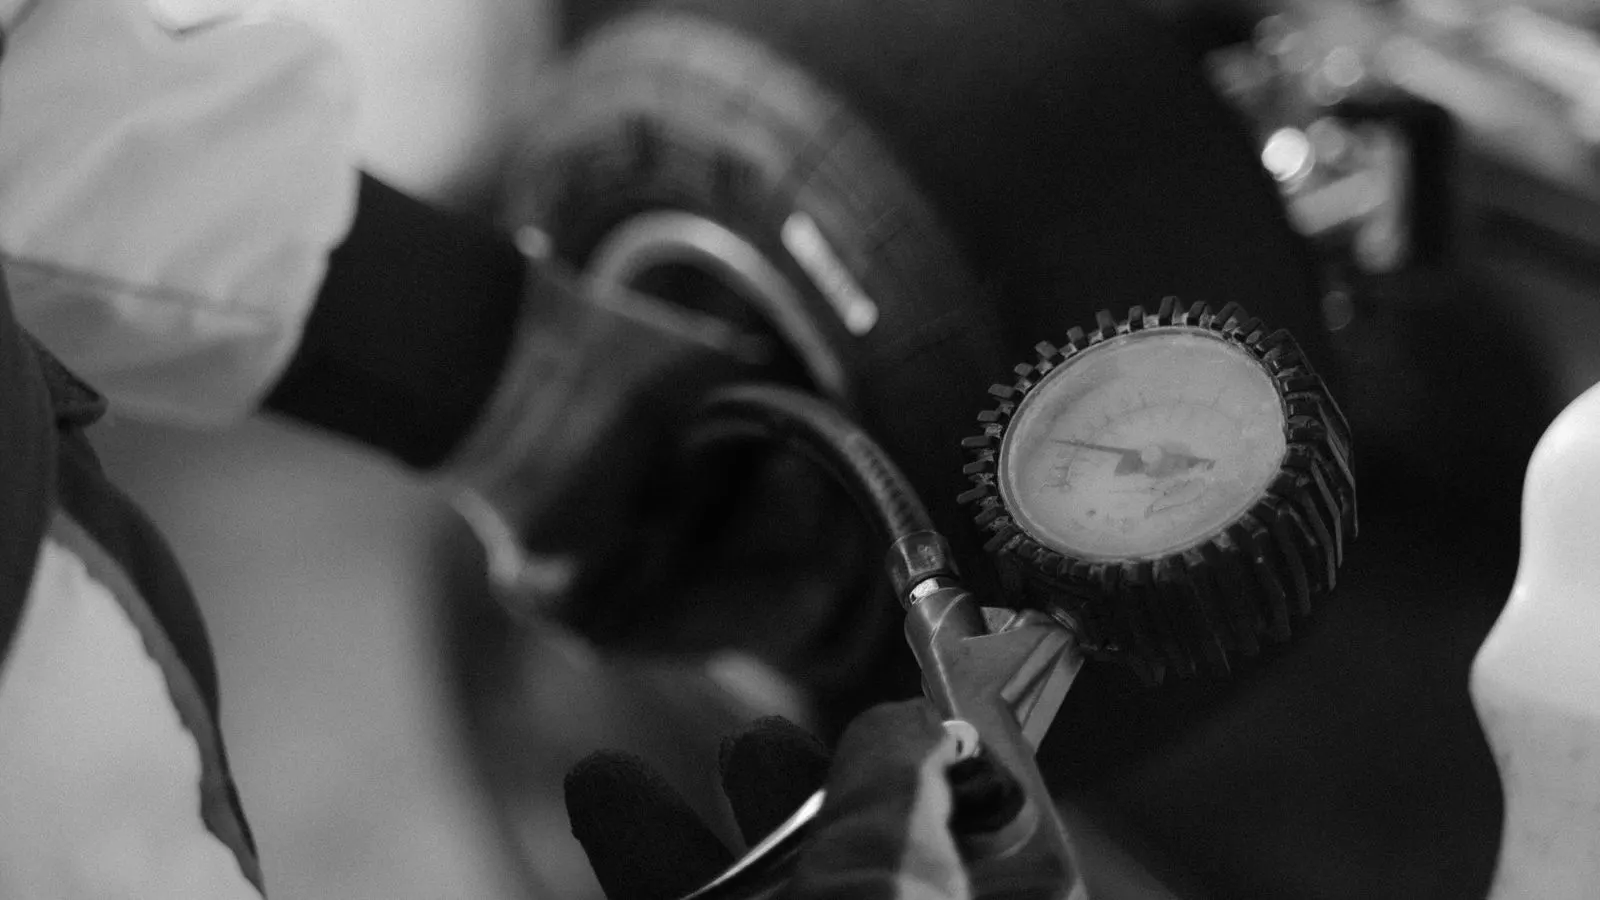
You need a gauge rated for the maximum pressure of your fleet. A dial gauge is the standard choice for many professional shops. It offers a clear analog readout. Digital gautes are convenient, but ensure they have a hold function. A hold function keeps the number on screen after you release the valve, allowing you to write it down.
Both types of gauges should be calibrated annually or more often if used heavily. An uncalibrated gauge can give you a reading that is off by several PSI. In the context of heavy loads, a few PSI can be the difference between proper support and structural stress.
You also need a clean, dry valve stem. Oil or dirt around the valve can prevent a good seal. If the gauge leaks, the reading will drop as you pull it off, giving you an inaccurate low number. Wipe the stem with a rag before attaching the gauge.
The Correct Step-by-Step Procedure
This procedure applies to a single tire on a heavy vehicle. Repeat it for all tires on the vehicle.
-
Park the vehicle on level ground.
The reason is that tire pressure can fluctuate slightly based on the weight distribution of the vehicle on a slope. Level ground ensures the load on each tire is consistent with normal driving conditions. -
Remove the valve cap.
The cap protects the valve from dirt and moisture. Removing it allows the gauge to attach securely. Check the cap for cracks while you have it in your hand. -
Ensure the tire is cold.
Wait at least three hours after driving. If the vehicle has been parked overnight, the tires are likely cold. Touching the sidewall can give a rough idea, but temperature is the real factor. -
Attach the gauge firmly.
Push the gauge stem onto the valve stem until it clicks. Do not rely on a loose fit. A loose connection lets air escape, causing the needle to drop or the digital display to fluctuate. -
Read the pressure.
Wait for the needle to stabilize. On a dial gauge, this happens quickly. On a digital gauge, wait for the display to stop changing. Do not take the reading while the tire is still deflating into the gauge. -
Record the value.
Write the PSI down on a clipboard or enter it into a digital log. Note the tire position. For example, “Front Left Drive.” This data helps track wear over time. -
Adjust if necessary.
If the pressure is low, add air until it reaches the specified cold pressure. If it is high, release air in small bursts. Always recheck the pressure after adjusting. -
Replace the valve cap.
Secure the cap to prevent contamination. A damaged cap can cause the valve to leak slowly over time.
Understanding Load Ratings and Placards
The correct truck tire inflation pressure is not a single number for all tires. It varies based on the vehicle model, the axle configuration, and the payload.
Check the placard on the driver’s door jamb or the owner’s manual. This document lists the recommended cold pressures for different load scenarios. It distinguishes between the steer axle, the drive axle, and the trailer. Steer tires often require different pressures than trailer tires to handle the lateral forces of turning.
The tire sidewall also provides a maximum pressure rating. This is the limit under which the tire can operate. It is not the recommended operating pressure. Operating at the maximum rating for long periods is not advisable. It increases the risk of overheating and reduces the tire’s lifespan.
For a heavy truck, the driver must calculate the load per axle. This is often done using a scale ticket from a weigh station. The pressure is then matched to the load. Lighter loads may require lower pressures, but never below the manufacturer’s minimum.
Common Mistakes in Tire Pressure Checking
The most common error is checking tires when they are warm. Drivers often stop at a fuel station after a long haul and check the tires immediately. The pressure will be higher than it should be. They then remove air to match the placard. This results in underinflation for the next leg of the trip.
Another mistake is using a gauge that has not been tested recently. A gauge that reads 100 PSI when it should read 95 PSI creates a false sense of security. The tire is running at a pressure that is too high for the load, or too low if the gauge is reading high.
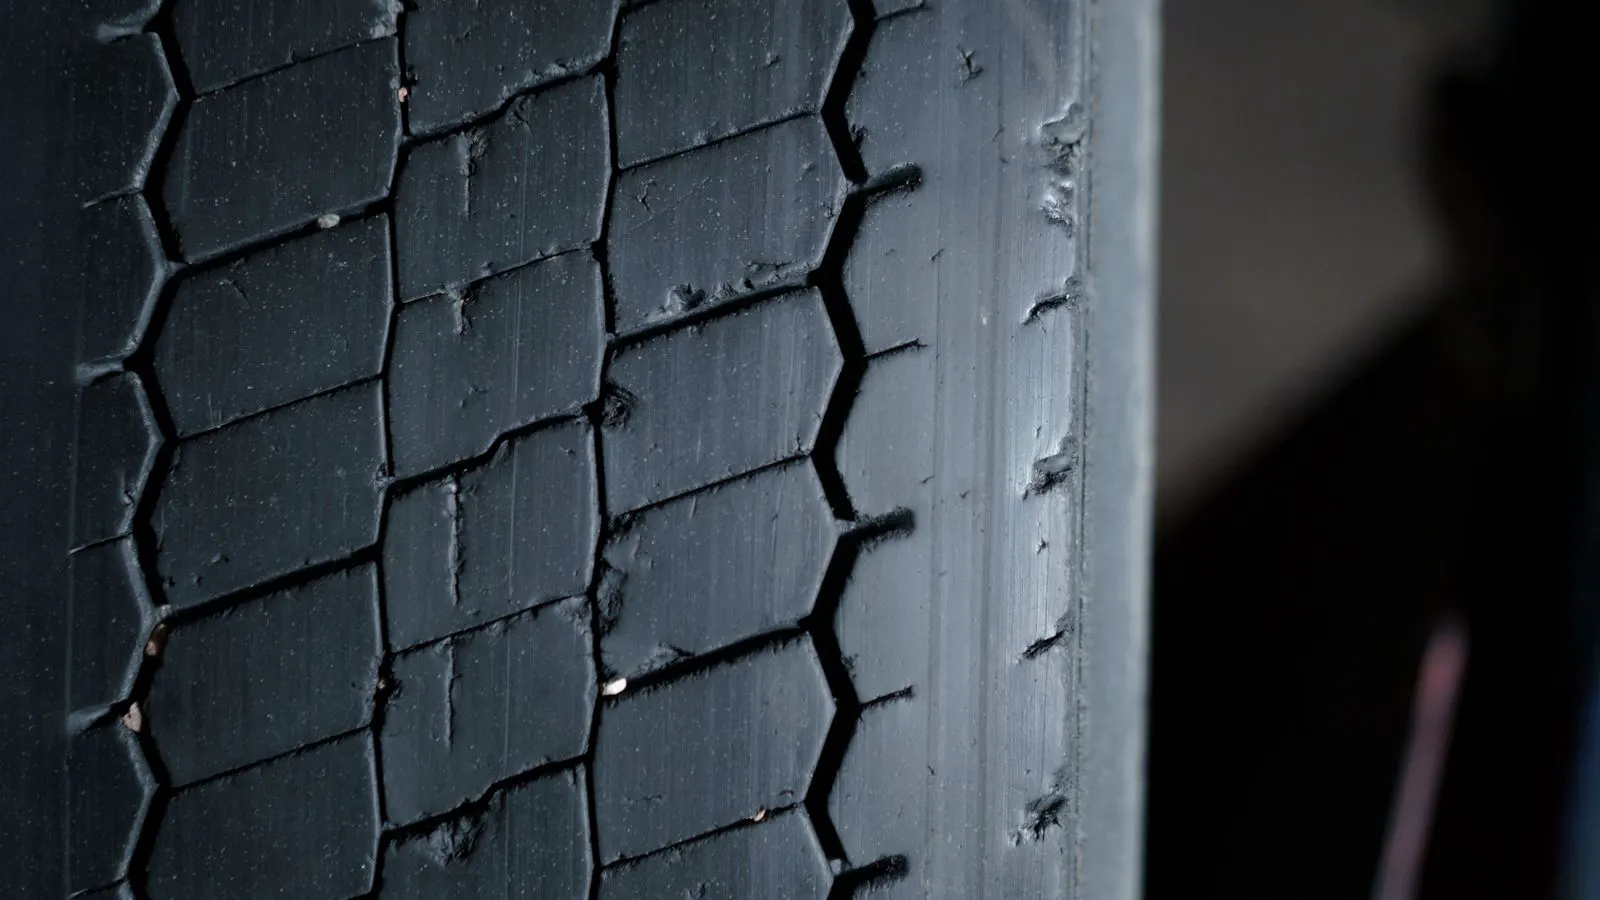
Drivers also skip the visual inspection. While checking pressure, look at the tire sidewall. Look for bulges, cracks, or embedded debris. A bulge indicates internal damage to the casing. This tire must be replaced immediately. Continuing to drive on it risks a blowout.
Finally, ignoring the difference between steer and trailer tires leads to uneven wear. Steer tires carry the steering load and the front weight. Trailer tires carry the cargo. If both are set to the same pressure without considering the load distribution, one set will wear out before the other.
Final Verification and Documentation
After adjusting all tires, perform a final verification. Walk the vehicle and check each tire again. Confirm the pressures match the requirements for the current load.
Document the work in the vehicle log. Note the date, the tire positions, and the pressures set. This record is useful for maintenance planning. If a tire in a specific position wears out faster than others, the log shows if the pressure was consistently different.
Regular pressure checks should be part of the daily pre-trip inspection. It takes minutes. It prevents major issues. A proper check protects the tire, the vehicle, and the driver.
Maintenance Schedule for Pressure Checks
There is no universal rule for how often to check pressure, but daily checks are standard for active fleets. If the vehicle is parked for more than a few days, check the tires when it is next used.
Seasonal changes affect air pressure. As temperatures drop, pressure drops. As temperatures rise, pressure rises. In winter, a tire that was at 100 PSI in summer might drop to 90 PSI. This change can be significant for heavy loads.
Monitor the trend. If a tire loses pressure quickly between checks, the valve stem may be leaking. Replace the valve stem. If the pressure is stable but low, check the tire for slow leaks. A small puncture in the tread can cause a slow loss of pressure.
Relationship to Tire Life and Safety
Correct inflation is the foundation of tire safety. Underinflation causes excessive heat buildup in the tire casing. Heat weakens the rubber and the cords. This leads to premature failure. Overinflation causes uneven wear and reduces the tire’s ability to absorb road impacts.
Tire safety is directly linked to the inflation pressure. A properly inflated tire maintains its intended shape and load distribution. This improves handling and braking. It also reduces fuel consumption. Underinflated tires create more rolling resistance. The engine works harder to move the vehicle.
Refer to the Steer vs Trailer Tires: Key Differences topic for more on how different positions affect pressure requirements. Also consider Truck Tire Casing Life: Factors and Maintenance when planning replacement cycles.
Frequently asked questions
How often should I check my truck tire pressure?
Check the pressure at the start of every shift or daily operation. Recheck if the vehicle has been parked for an extended period or if the load has changed significantly.
Can I use a regular air pump to check pressure?
A pump can add air, but it does not measure it accurately. You need a separate gauge rated for heavy-duty pressures to verify the inflation level.
What is the difference between cold and hot tire pressure?
Cold pressure is the baseline specification. Hot pressure is higher due to heat from driving. You must always set the tire to the cold pressure specified for the load.
Do trailer tires need different pressure than drive tires?
Yes. Trailer tires and drive tires often have different load distributions. Check the placard or manual for specific pressures for each axle and position.
What should I do if I find a tire is significantly underinflated?
Inflate it to the correct cold pressure immediately. If it lost pressure quickly, inspect the valve and the tire for leaks or damage before driving further.